Hi there. This is the ant nest I am building. It is almost done. I'll explain what has been done so far.
First I added plaster powder to a bit of water in a pot and mixed everything for several minutes. I then added more plaster powder in smal amounts until the mixture had the consistency of a tooth paste, mixing all the while. Then I left it to dry for about 24 hours. This is the result:
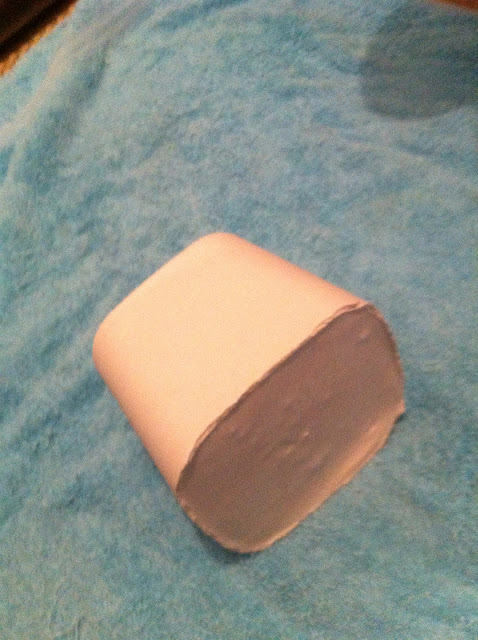
After 24 hours drying, I got the block off the pot with a bit of pushing and light whacking. It took me about 15 minutes to get it out. This is the plaster block:
Next step would be to carve out the chambers. Since I don't have a queen yet, I thought I might as well just make some "general" chambers. Ok, I'll come clean: I had no idea of what size they should be. Here's me starting off:
After a bit of work, some chambers are created:
As you can see, you get a lot of leftovers from the carving of just 3 chambers.
After carving out more chambers, it was time to connect them. Again, I had no idea as to how to carve the passages, so I tried to make them about 1 cm in diameter (half a circle). Here's the result:
I then put it back in the plastic pot:
I measured it (sorry about the rule, it is broken in several places but it's the only one I had). You can get an idea of the height in this picture:
On the next two pictures, you can see the size of the biggest chamber (not that big at all but I hope big enough to do the trick):
This is the general size of the passageways:
It looks nice so far, I hope I can get a queen for it soon :)


Looks cool! Congratulations!
ResponderExcluirIt's awesome!
ResponderExcluir