I recently came up with an idea for a mixed sand/loam and plaster nest. I put a colony of Pachycondyla striata in it to "test". The result looks quite good.

I first created a bit of plaster on one side of the shoe box, as so:


Then I put sand in and a little bit of loam on top (they can't dig in the sand, but can dig in the loam, and I did not want them digging but using the bit of plaster as nest instead). They are using one of the far side corners as rubbish dump:

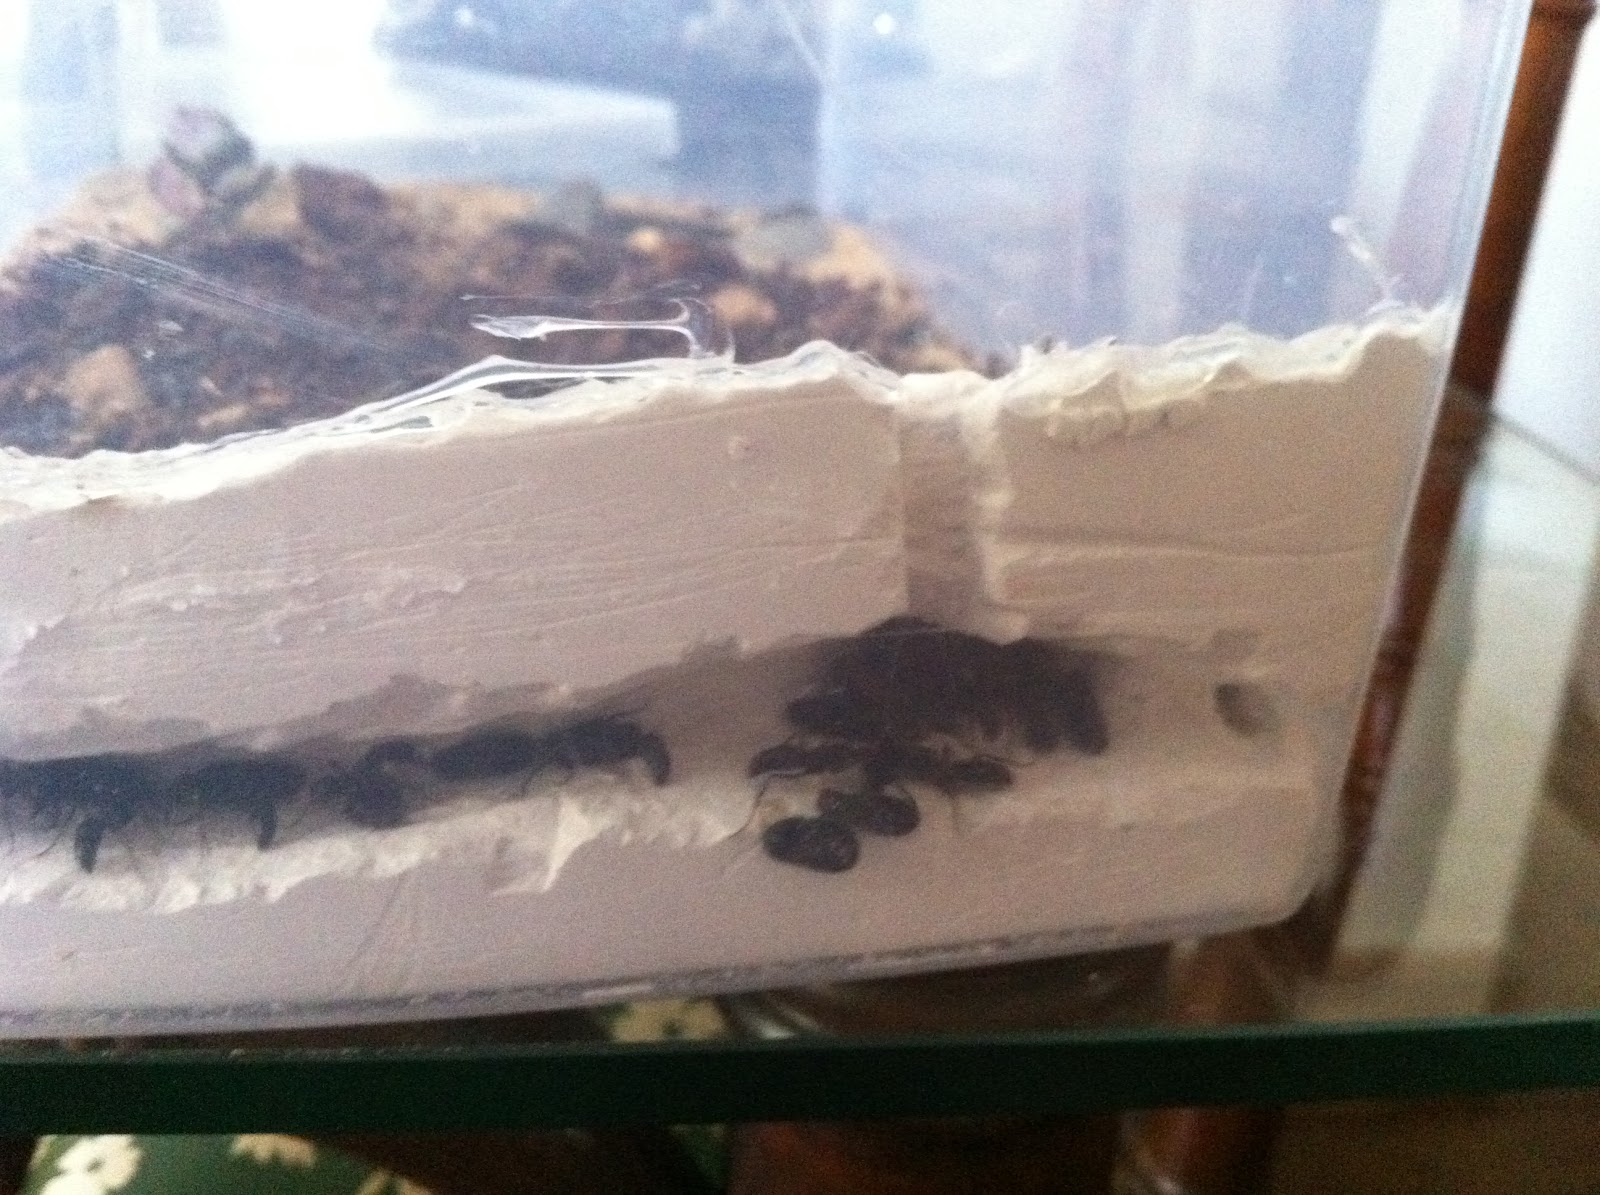
On the bit of plaster I excavated a side chamber and also some underground chambers. As soon as I put the ants in, they proceeded to move the brood inside the plaster almost straight away. You can see the side here:


I made a mistake, however. I glued the top with silicon but I did not glue the bottom with anything. So the plaster lifted a little bit when I picked up the nest for the first time, and this created some space at the side and underneath. Sand went in and kind of flooded the underground chambers, and although the ants took the sand out, it is impossible to see what is going on underneath (and also there is an ugly space between the plaster and back wall. Something I will have to remedy somehow.


I first created a bit of plaster on one side of the shoe box, as so:


Then I put sand in and a little bit of loam on top (they can't dig in the sand, but can dig in the loam, and I did not want them digging but using the bit of plaster as nest instead). They are using one of the far side corners as rubbish dump:

On the bit of plaster I excavated a side chamber and also some underground chambers. As soon as I put the ants in, they proceeded to move the brood inside the plaster almost straight away. You can see the side here:

I made a mistake, however. I glued the top with silicon but I did not glue the bottom with anything. So the plaster lifted a little bit when I picked up the nest for the first time, and this created some space at the side and underneath. Sand went in and kind of flooded the underground chambers, and although the ants took the sand out, it is impossible to see what is going on underneath (and also there is an ugly space between the plaster and back wall. Something I will have to remedy somehow.


